How to Draw a Briefcase Step by Step
This tutorial shows how to draw a briefcase, the kind that is used for work or carrying things when traveling.
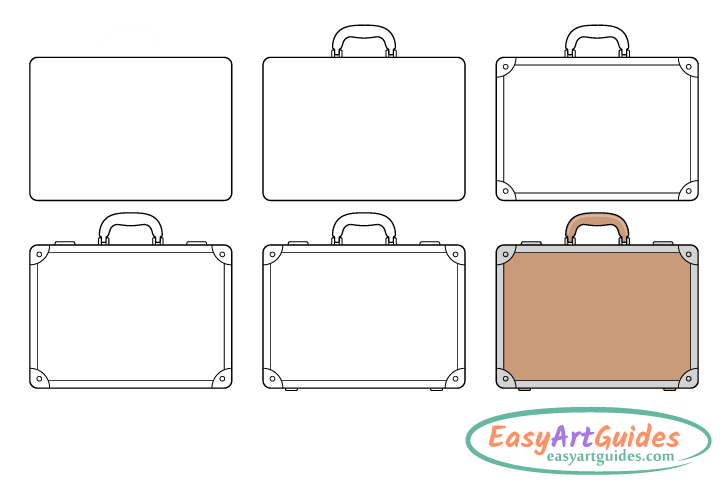
The example is of a brown leather briefcase with corner protectors and latches. Although, the briefcase has a good amount of detail, overall it’s not very complicated and should be fairly easy to draw if you just follow along with the instructions. You can see a preview of the main stages of the tutorial in the image above.
Start the drawing in pencil and make light lines that are easy to erase in case you make a mistake. You can darken them later on with a black pen or marker (after you have all parts of the briefcase outlined).
Step 1 – Outline the Main Body of the Briefcase

For the first and very simple step outline the briefcase’s main body. Make it rectangular in shape with rounded corners.
Step 2 – Draw the Handle
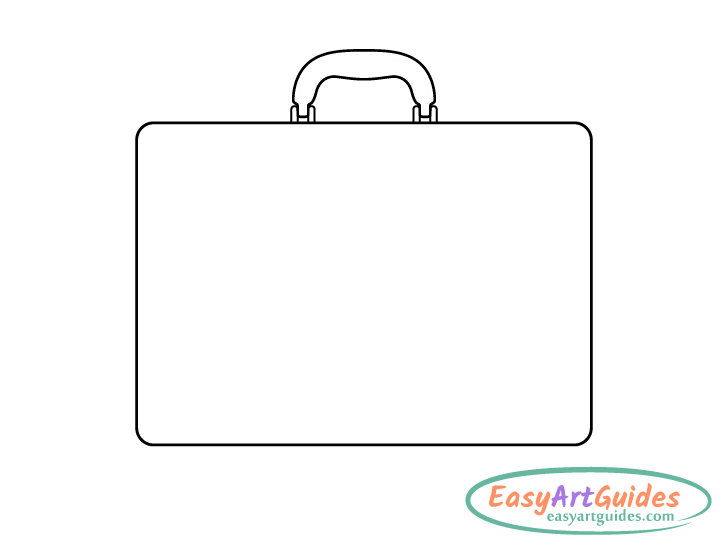
At the top of the briefcase add the handle. Start by drawing the four little hinges that hold it in place and allow it to swivel (two per side). Make their outlines fairly thin with rounded tops. Afterwards, draw the handle itself. Make it curved in shape with a slightly straighter area around the upper end of the grip and downwards “bump” at the bottom middle. Draw the areas in between the hinges much narrower than the rest of the handle.
Step 3 – Draw the Corner Protectors

On each of the briefcase’s corners add a corner protector. You can define each of these with a curve on the inner side of it’s main outline. Next, draw a little circle inside each protector to show a little screw/rivet that holds it in place. Also, add a frame that briefcases sometimes have around their edges. Define this with straight lines that run in between the corner protectors.
Step 4 – Draw the Latches
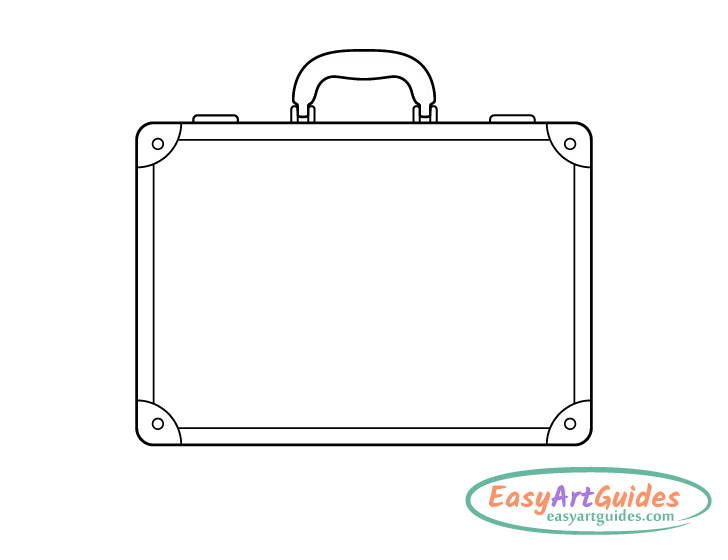
At the top of the briefcase draw a pair of latches (the parts that keep it from opening). As these are quire small you can just outline their general shapes as shown in the example without bothering with the really tiny details.
Step 5 – Draw the Feet & Finish the Line Drawing
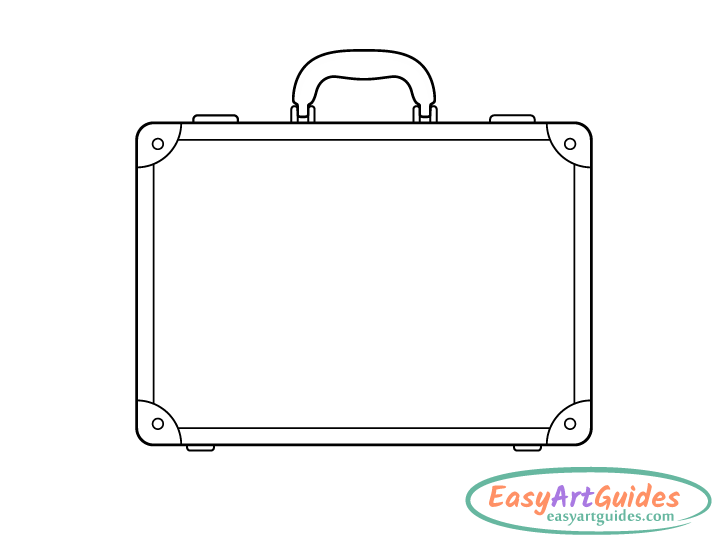
At the very bottom of the briefcase draw the feet. Make these quite short and give their outlines slightly rounded corners on the bottom.
To finish the line drawing you can first trace over it with darker pencil lines or a black marker.
Step 6 – Color the Briefcase
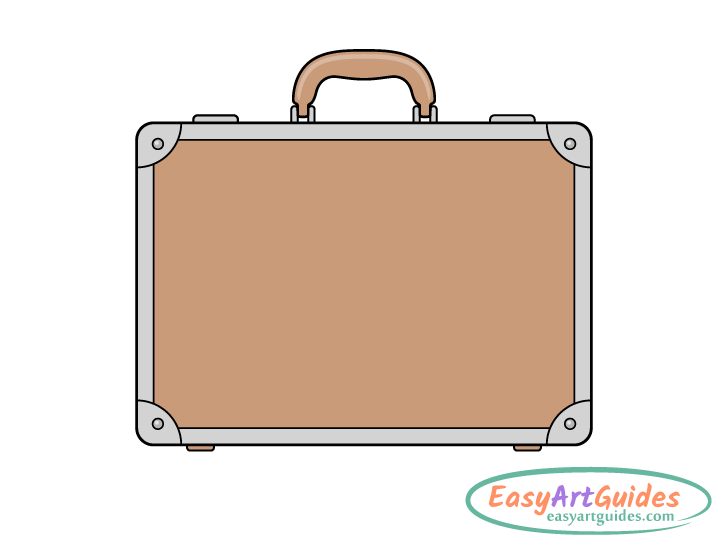
To color the drawing you can use whatever colors and media you like (paints, colored pencils, markers, etc…). In this example the main body of the briefcase along with it’s handle and feet are brown. The other parts are grey to show that they are metallic. These include the handle hinges, latches, corners and frame.
When coloring the handle you can leave a lighter strip to show a reflection along it’s upper end.
When shading the corner protectors you can make the screws/rivets a slightly darker grey but leave tiny little light spots inside of them to show light reflecting from them as well.
If you want to have an easier time coloring you can just leave out all of the reflections and use the same grey/brown for the appropriate parts.
Conclusion
This tutorial shows how to draw a fairly classic looking briefcase with latches and corner protectors. The provided examples have been created to have enough detail to make the guide interesting but to also keep it fairly simple. Hopefully you’ve found it easy to follow along with the steps.
If you like this tutorial you can also try the following:


