How to Draw a Cracker Step by Step
This six step tutorial shows an easy way to draw a nice looking cracker with illustrated examples and short and simple instructions.
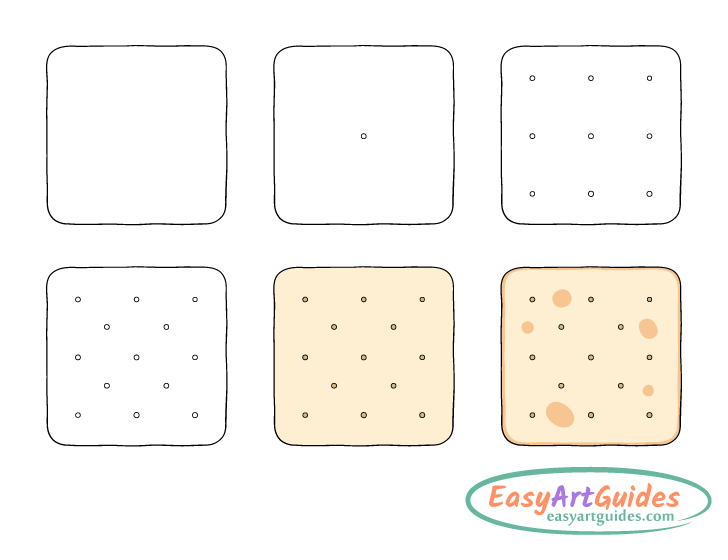
Because the cracker has such a basic shape with little detail this is a very straightforward and beginner friendly guide. However, at the same time it can help you create very nice and believable looking artwork that’s easily recognized for what it’s supposed to be.
You can see a preview of the drawing steps for the cracker in the image above.
It’s recommended that you start the tutorial in pencil and make light lines that are easy to erase in case you make a mistake. You can darken them later on with a black pen or marker.
Step 1 – Draw the Outline of the Cracker
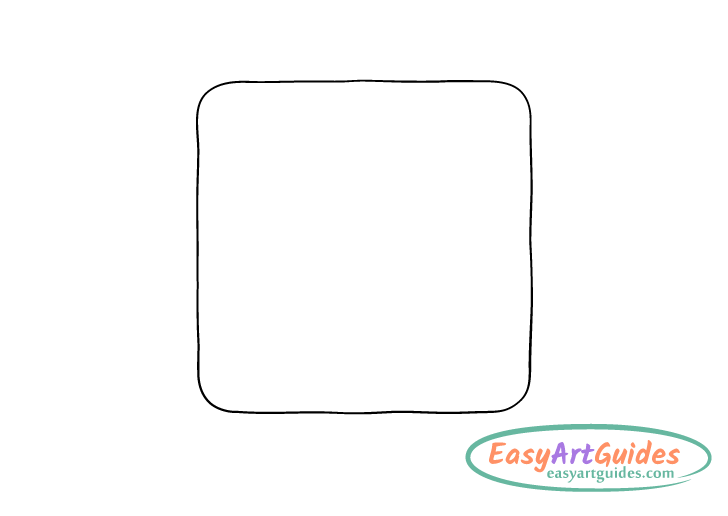
Begin with an outline drawing of the cracker’s shape. Make it similar to a square with rounded corners but also deliberately make the outline somewhat wavy/wobbly. Crackers tend to slightly warp when they are barked so their shapes generally aren’t perfect.
Step 2 – Draw the Center Hole
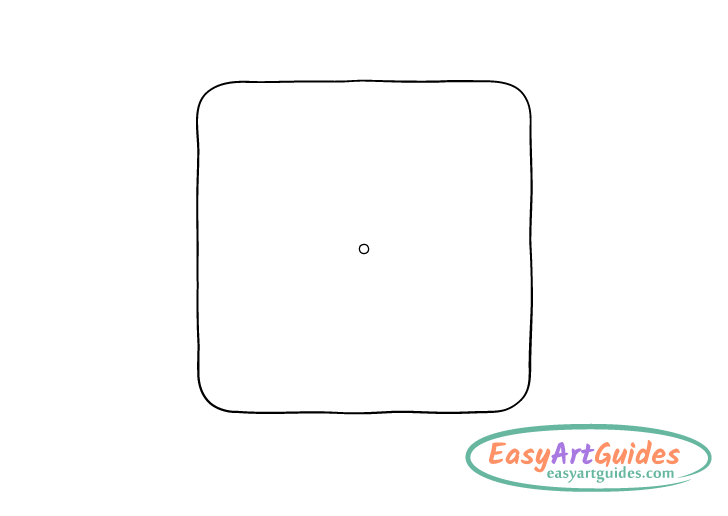
Crackers often have a series of small holes in them. Start by drawing one in the middle of the outline from the the previous step. This hole will act as a guide for the rest.
Step 3 – Draw the Outer Holes
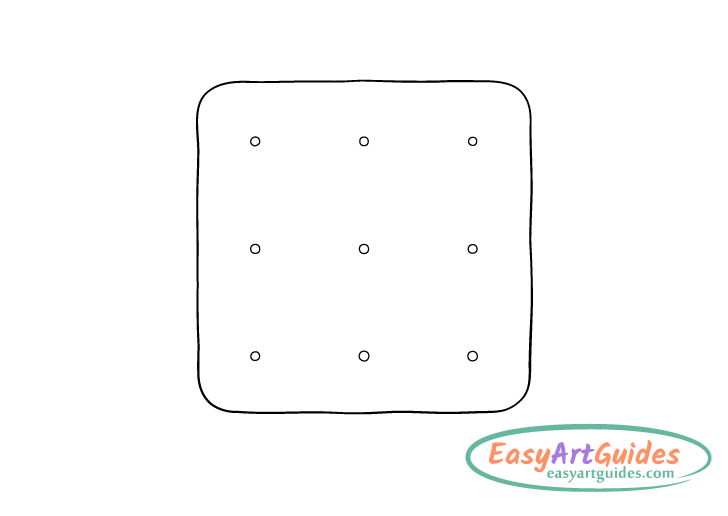
Draw a series of holes along the edges of the cracker and try and align them with the one in the middle so that you can either draw an “X” or a “+” through them.
Step 4 – Finish the Line Drawing
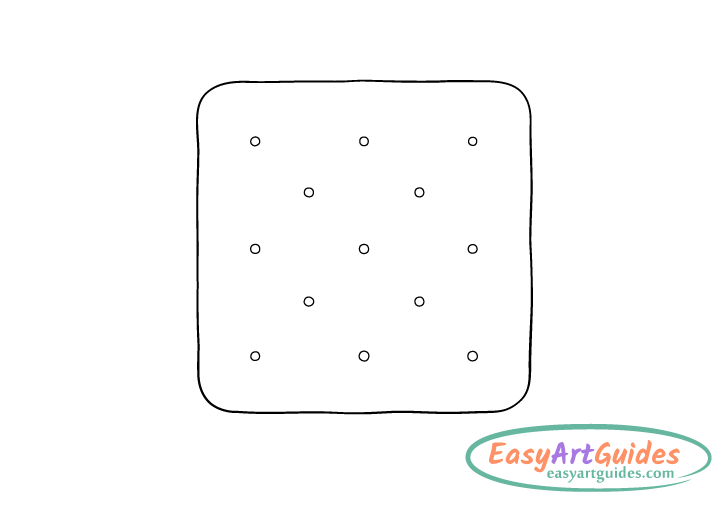
Finally add the last set of holes in between the ones drawn earlier. Again, try and position them so that if you draw a “X” through the cracker the holes will be in alignment with it.
Once you have all details of the crack outlined trace over your drawing with a thin black marker (or a black pen). If you don’t have one simply darken them with the pencil.
Step 5 – Color the Cracker
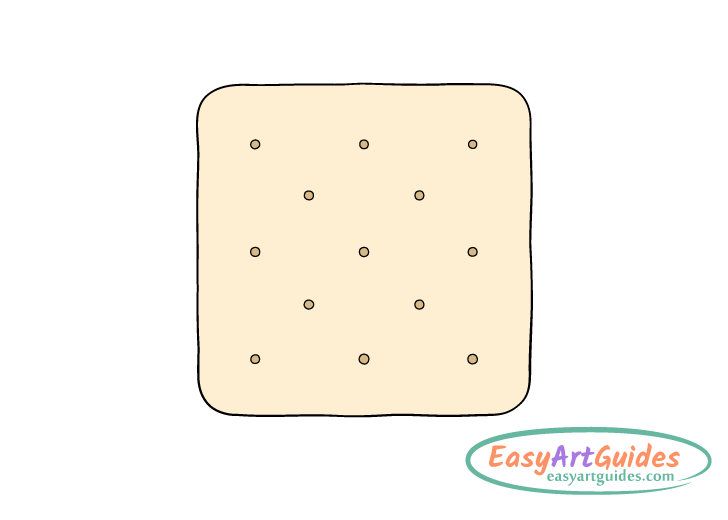
To color the cracker make it a light yellow/brown and make the holes a dark yellow brown. Colored pencils can be an easy way to do this.
Once done with the above you may notice that the cracker looks a little bit plain but don’t worry that’s fixed in the next step.
Step 6 – Add More Color to Finish the Drawing
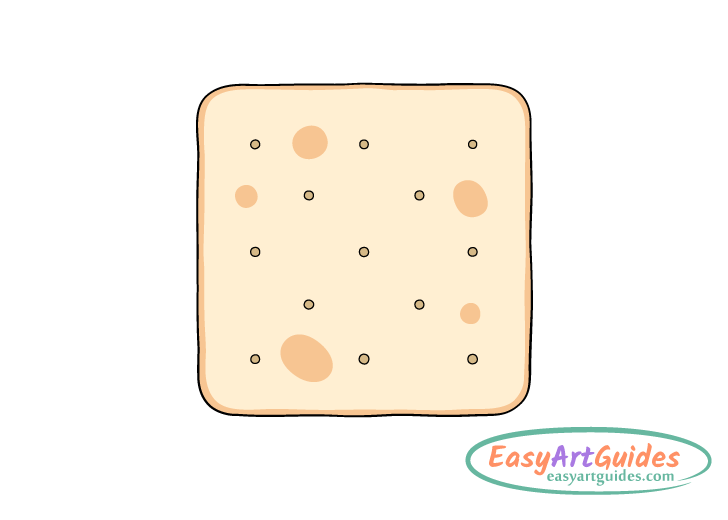
To make the drawing a more interesting and to make the cracker look more like an actual cracker add a few darker spots along it’s surface. You can also give it a darker outline along the edges. Make these darker areas orange/brown in color. The darker parts are created because usually some parts of the cracker bake more than others.
Conclusion
This tutorial shows how an easy way to draw a nice looking cracker. The line drawing portion of the guide is simple because you don’t have to worry about making straight lines or being very precise. The cracker actually looks better and more believable if it’s shape is not perfect. The coloring part is also quite easy. At the same time it can be very effective if done right and will help otherwise plain an flat looking draw stand out far more than it would otherwise.
If you’ve enjoyed this tutorial you may also want to try some of the following:


