How to Draw a Rock Step by Step
This tutorial show how to draw a rock in six steps. It includes simple illustrated examples and quick explanations of the drawing process.
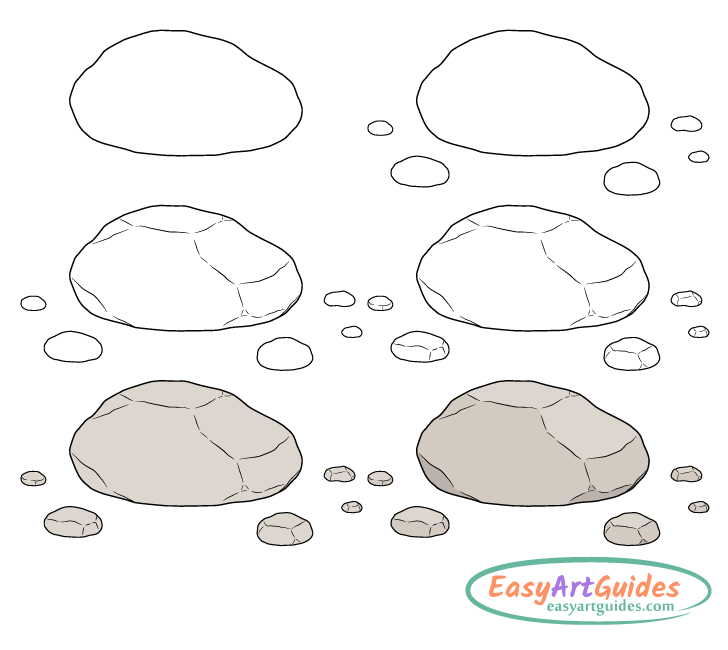
Because rocks come in an almost infinite variety of shapes and sizes drawing one can be somewhat confusing. To help this guide shows how to create a drawing that is easily recognizable as a rock by giving it a shape that is characteristic of such an object.
For this tutorial you don’t need to be overly precise in the way you make your lines lines. However, its still generally a good idea to start the drawing in pencil and to keep them light in case you do want to make a correction. You can darken them after you have the rock fully outlined.
Step 1 – Draw the Outline of the Rock

Begin by outlining the rock’s overall shape (basically it’s silhouette). Draw this as a mix of fairly straight or lightly curved areas and sharper curves (around the bends).
The straight and lightly curved lines will define the rock’s various facets while the sharper curves will define it’s corners.
Drawing sharper corners will make the rock look like it’s been split off from a larger chunk more recently. Drawing rounded corners will show one that’s been sitting around for some time and has had some wear on it from the weather and/or surrounding environment.
With enough wear on them some rocks may become really smooth and completely lose their facets. However, as the goal of this guide is to make a drawing that is easily recognizable make the corners only slightly rounded.
Step 2 – Add Some Pebbles Around the Rock
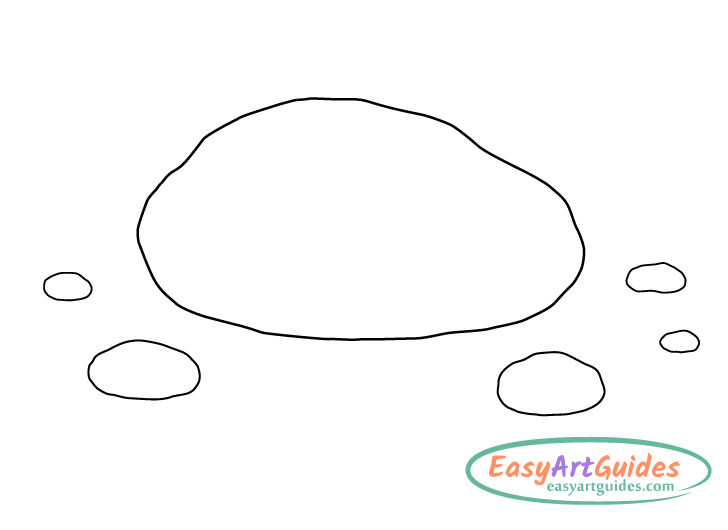
To make the drawing a little more interesting also add some small pebbles/fragments around the rock as shown in the example. You can outline them in pretty much the same way as was described in the previous step.
Step 3 – Add the Rock’s Inner Details
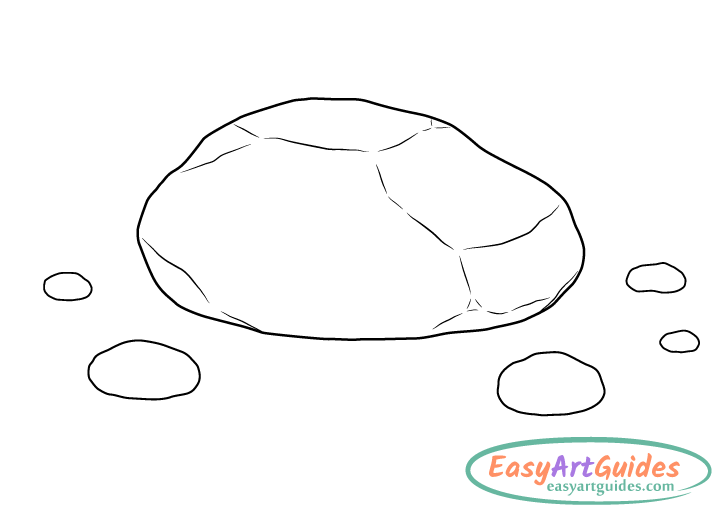
Inside the rock’s main outline draw the lines that define the inner details of it’s largest facets. Similar to the main outline you want these to be comprised of a mix of fairly straight areas and curves and curves around the bends.
For most areas of the rock don’t connect these inner lines with one another. Doing so will again help create the effect of rounded corners. Though you can join them in some areas (like the upper left of the rock in this case) to also show sharper corners.
Somewhat randomizing things can give the rock a more natural appearance.
It’s also important to note that you don’t have to show too many details to create a believable looking drawing. For example you could further divide the rock’s large facets into the smaller ones but doing so could actually make the drawing look worse and be counter productive.
Step 4 – Add the Details of the Pebbles
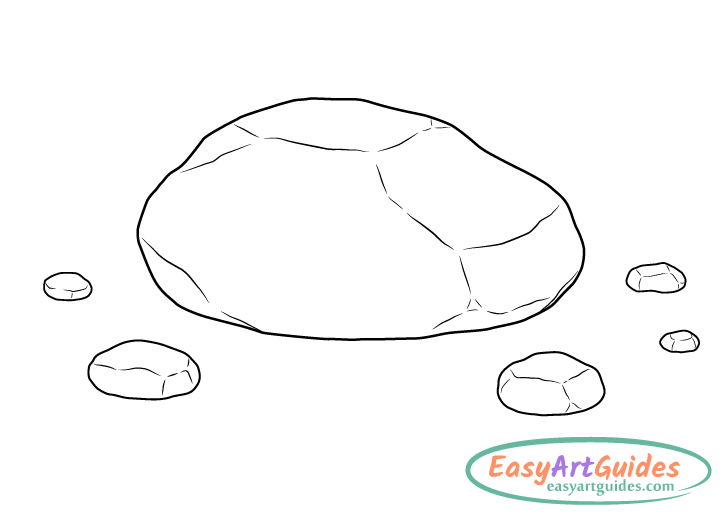
After defining the inner areas of the main rock’s facets do so on the pebbles as well.
Once you have the above outlined trace over your drawing with darker pencil lines or a black marker. When darkening your lines you can (optionally) make the main outlines of the rock and pebbles slightly thicker than the rest.
Step 5 – Color the Rock
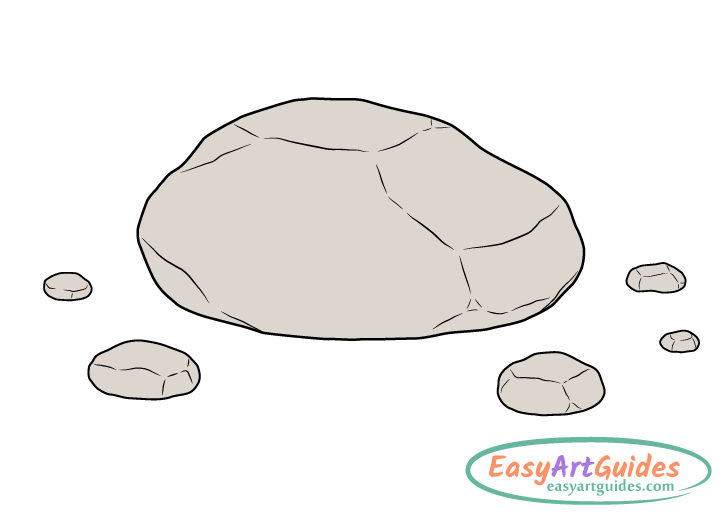
In this case the rock and pebbles are grey (with a bit of yellow/orange). You can add the grey by using a regular pencil. You can then (optionally) lightly go over the grey with yellow or orange (using a colored pencil).
Step 6 – Shade the Rock
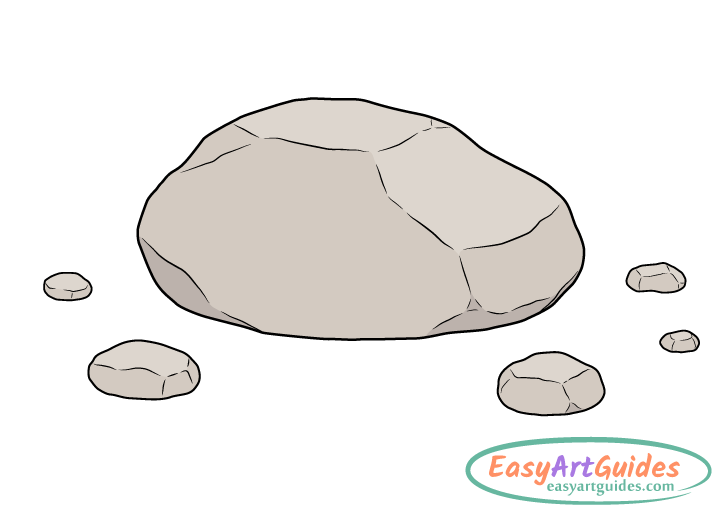
To make the rock and pebbles look more three dimensions add some shading.
Light tends to come from the top. In this example it’s also slightly to the right. In such a setting don’t darken most of it’s upwards facing areas. However, do darken the facets angled more to the sides or towards the bottom by again going over them with a regular pencil.
Only slightly darken the side areas that are angled more sideways than upwards. Examples of these would be the largest facet as well as the second facet from the bottom. You can also slightly darken the little bit on the upper left as that facet is not really facet is somewhat angled away from the light source.
Make the downwards facing areas on the bottom left and right the darkest.
You can shade the pebbles in a similar manner (as shown in the example).
Conclusion
As mentioned at the start of the tutorial, rocks come in many shapes and sizes and this is just one way to draw one. However, if you want to draw a rock with a different shape you can still generally use the same approach of outlining it’s silhouette and then adding the smaller details such as the various bends and curves.
If you’ve found this tutorial helpful you might also like:


