How to Draw a Doughnut (6 Step Guide)
This short tutorial shows how to draw a glazed doughnut with sprinkles in six easy steps. It provides simple examples and quick tips.
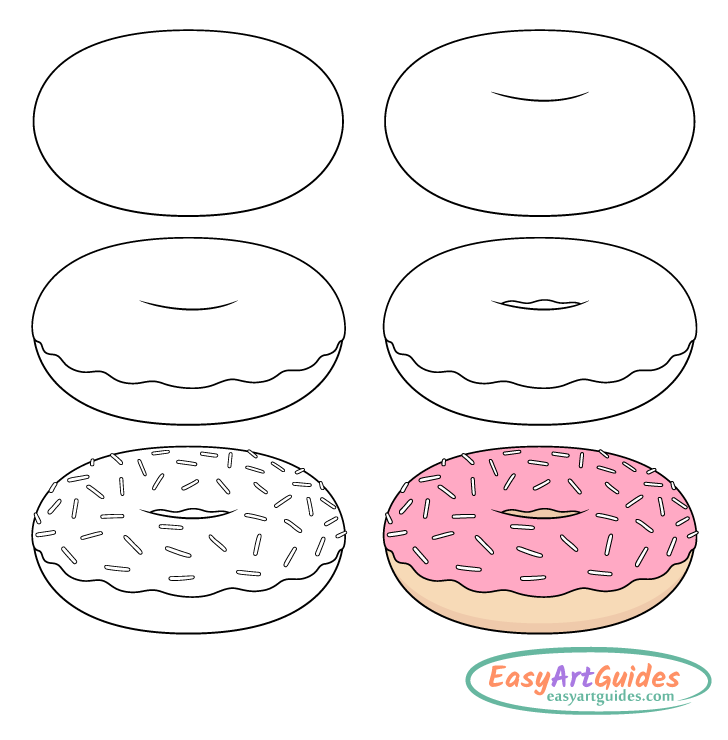
In this example the drawing is of a pink glazed doughnut with white sprinkles on top. The guide first shows how to draw the dough (to get the doughnuts overall shape), followed by the glaze and sprinkles. It then also shows an easy way to apply some color and shading. Overall, this is a very straightforward and beginner artist friendly guide.
Start the drawing using a pencil and make light lines that can be easily erased in case you happen to make a mistake. You can darken them once you have all of the parts of the doughnut outlined either with the pencil or with a black marker.
Step 1 – Draw the Shape of the Doughnut
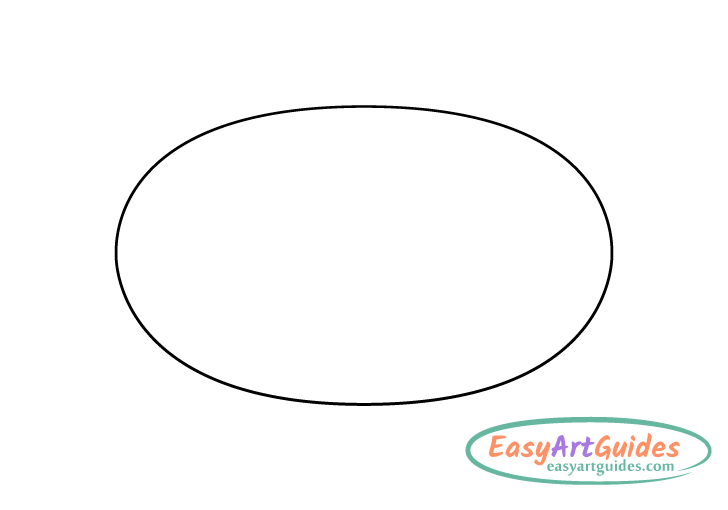
Begin by drawing the outer shape of the doughnut. Generally, doughnuts of this kind are round, as is this one. However, because in this example the doughnut is draw as though it’s being viewed from an angle it’s outline looks like an oval. Draw it as shown.
Step 2 – Draw the Hole
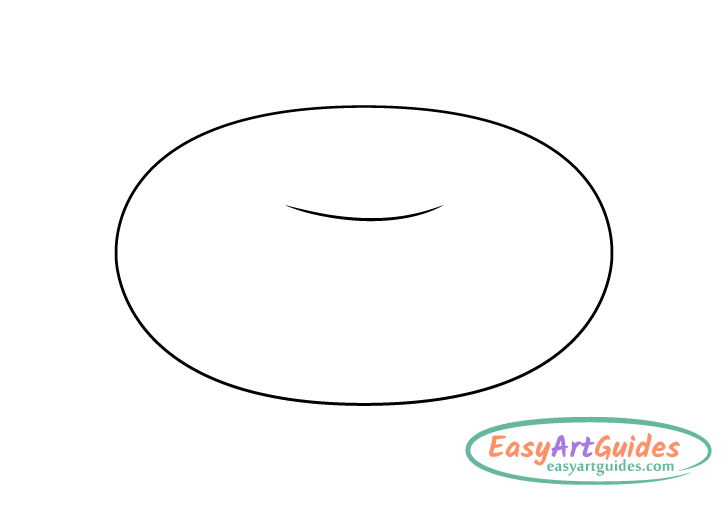
Again, because in this example you are not looking directly at the top of the doughnut it’s hole is not fully visible. However, you can indicate that it’s there by drawing a simple curve towards the upper middle of the outline from the previous step.
Step 3 – Draw the Glaze
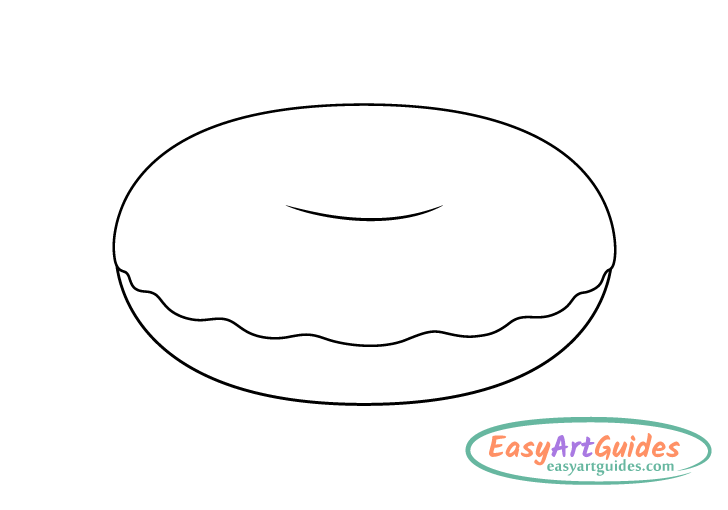
After you have the basic shape of the doughnut add the glaze. Draw it by first making a wavy line that curves along the outer side of the doughnut. To show that the glaze has some volume make the it go slightly beyond the edges of the dough. You can then erase the parts of the outline from step one as needed when doing so.
Step 4 – Draw the Glaze
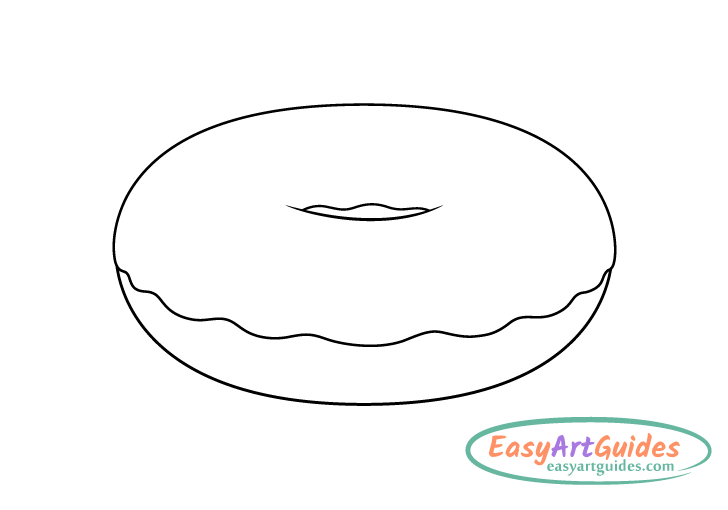
Draw the glaze on the inner side around the hole. You can again just make a wavy line to define it’s edges.
Step 5 – Draw the Sprinkles
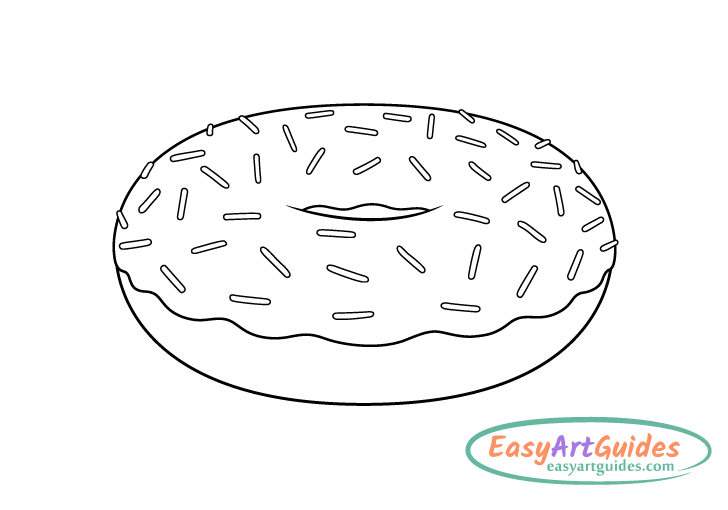
To finish the line drawing of the doughnut first add some sprinkles. These often tend to be shaped like thin little cylinders with rounded ends. Try and draw the sprinkles at different angles randomly scattered throughout the doughnut so that their placement looks natural. Also, draw a few on the edges overlapping the outline of the glade. You can erase tiny gaps into it when adding these in.
Once you’ve added the sprinkles go over your drawing with a black pen, marker or darker pencil lines.
Step 6 – Color the Doughnut
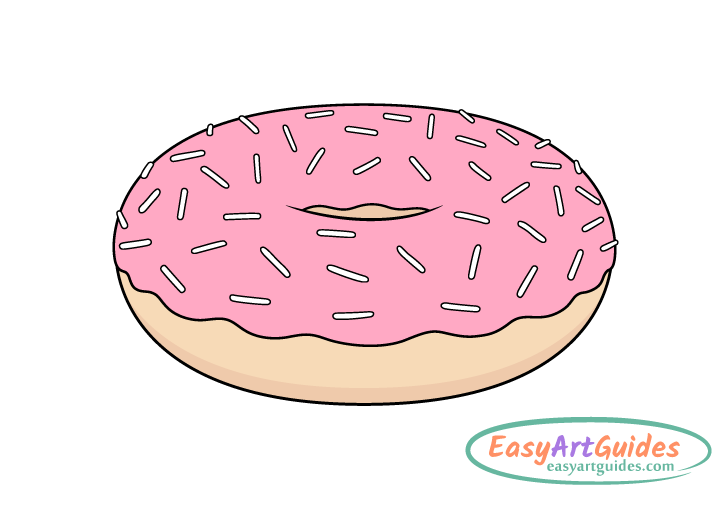
Coloring the doughnut is very easy. If you want bright colors markers can be a great option but colored pencils can also be good.
In this example the glaze is pink and the dough is a light orange/brown. The sprinkles are white.
You can of course make the glaze and sprinkles just about any color you like. For example, you can make the glaze brown (to make it look like chocolate).
Once you’ve added the colors also give the doughnut a shadow running along the bottom of the dough (as shown in the example) you can also fully shade the dough around the hole.
Add the shadow by going over the lighter color with a darker brown (a brown pencil for example).
Whatever option you choose, once done coloring you should have a finished drawing of a glazed doughnut.
Conclusion
The doughnut drawing in this tutorial is quite simple but definitely has a look that is very characteristic of such a pastry. Adding the glaze and sprinkles gives it enough detail so that the artwork does not look plain and boring. Using bright colors and adding a little bit of shading can make the drawing stand out even more.
Hopefully you’ve found this “how to draw a doughnut” guide helpful and haven’t had much trouble following along with the steps.
If you like these types of simple tutorials you may also want to try the following:


